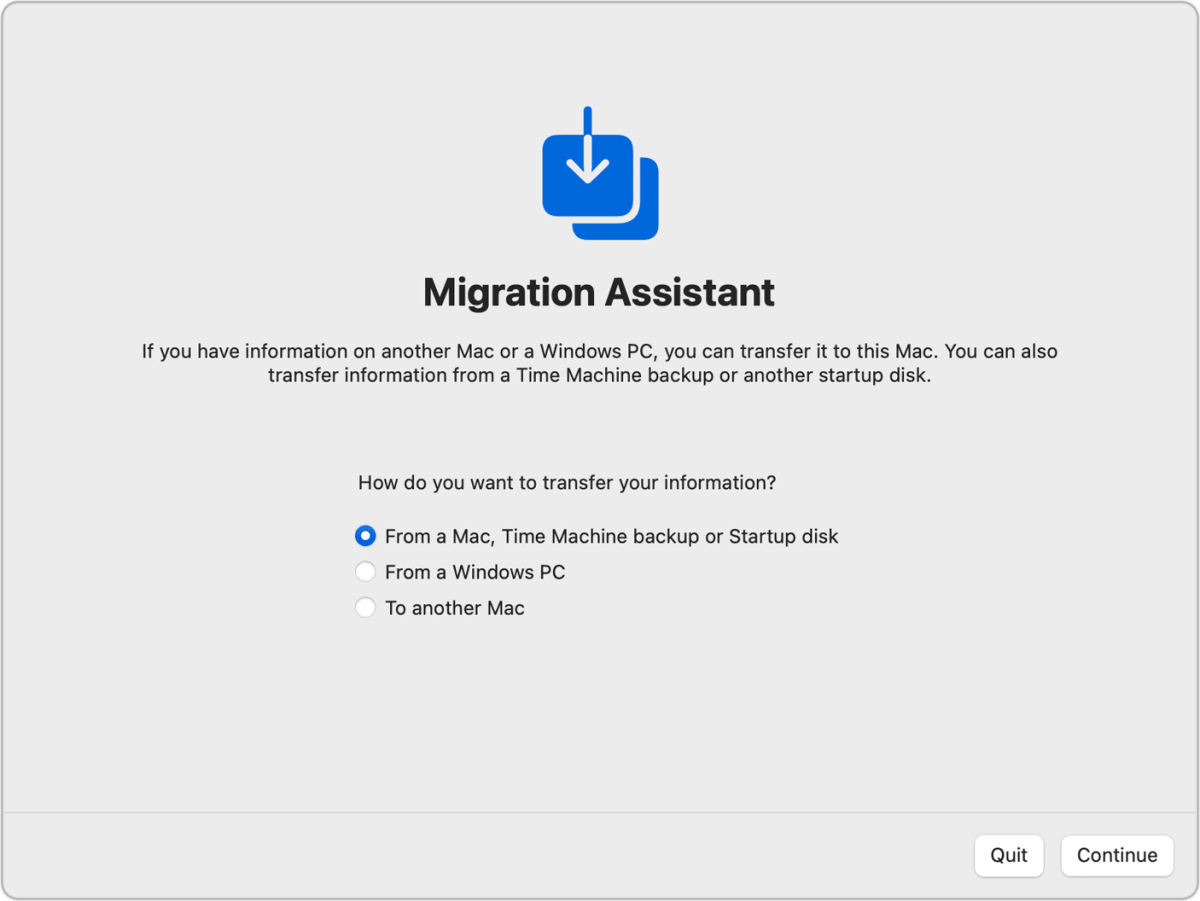
Migration Assistant in macOS has matured to an effective and rapid way to transplant the brain of one Mac to another. I recently migrated from an M1 Mac mini to a Mac Studio using a Thunderbolt 4 cable, and nearly a terabyte of data transferred in about 90 minutes. I barely remember I’m using a new Mac except for more ports and higher performance.
However, not everybody experiences this ease. One reader with a 2015-era MacBook Pro tried to use Migration Assistant to move to a new Mac and didn’t see the option “to another Mac” after launching the app on the old Mac. There could be several causes.

Migration Assistant should show and let you select an option to transfer from your Mac.
Foundry
The old Mac isn’t running an operating system new enough: Apple doesn’t provide enough details, but people have deduced through testing that at least Mac OS X Snow Leopard 10.6.8 is required; that late release of Snow Leopard is the minimum for interoperable support of many later versions. I’d go one step further: update your older Mac to the most recent version it allows.
Launch Migration Assistant on both devices: It shouldn’t matter, but some reports indicate it might. On the other Mac, choose “From a Mac, Time Machine backup or Startup disk.”
Both Macs aren’t using Wi-Fi: It’s not a strict requirement, but it seems from forum posts that some people don’t see a transfer option unless both machines have Wi-Fi enabled. If one Mac is using Mac OS X 10.11 El Capitan or earlier, both Macs need to be connected to the same Wi-Fi network; if both are using later operating systems, they need to have Wi-Fi turned on and be in close proximity.
If Wi-Fi doesn’t work, try a cable: Connect the two Macs with a USB, USB-C, or Thunderbolt cable. If either Mac has macOS 11 Big Sur or later installed, you must use a Thunderbolt cable; if the older Mac only supports Thunderbolt 2, get a Thunderbolt 2 to Thunderbolt 2 cable and an Apple Thunderbolt 2 to Thunderbolt 3 adapter.
Plug both Macs into power: While you should be prompted with a warning, this may be a reason not to see the transfer option.
If none of the above helps, you can use an alternative method for migrating.
Use Target Disk Mode or Share Disk
Booting into Target Disk Mode or Share Disk on your older Mac lets it appear as a drive on the new one.
With an Intel Mac:
- Choose > Restart.
- Hold down the T key by itself until a drive icon appears.
Alternatively, go to > System Preferences > Startup Disk, select the startup volume, click Target Disk Mode, and follow the prompts.
With an M-series Mac:
- Choose > Shut Down.
- Press and hold the power button until the option gear icon appears.
- Click the gear icon, and enter a password as required.
- In the macOS Recovery window, choose Utilities > Share Disk.
- Click Start Sharing.
Now connect the two Macs with a USB, USB-C, or Thunderbolt cable (see above for details on macOS 11 or later’s Thunderbolt requirement).
On the newer Mac, choose Go > Network in the Finder, double-click the icon for the other computer, click Connect As, and then enter an administrator account name and password for that Mac.
The Mac is now mounted in the Finder and can be selected with Migration Assistant.
Use a Time Machine backup
If Target Disk Mode or Share Disk doesn’t work with your setup or you don’t have the right cable, you can create a new Time Machine backup or update an existing one for your old Mac. After creating or updating the backup, attach the Time Machine volume to your new Mac. In Migration Assistant, choose “From a Mac, Time Machine backup or Startup disk” and select the appropriate Time Machine item when prompted.
This is sometimes the fastest method because the speed of backing up to a drive and then migrating from one works at disk speeds instead of network or cable speeds, which are often slower.
This Mac 911 article is in response to a question submitted by Macworld reader Brenda.
Ask Mac 911
We’ve compiled a list of the questions we get asked most frequently, along with answers and links to columns: read our super FAQ to see if your question is covered. If not, we’re always looking for new problems to solve! Email yours to mac911@macworld.com, including screen captures as appropriate and whether you want your full name used. Not every question will be answered, we don’t reply to email, and we cannot provide direct troubleshooting advice.

